
This morning promised to be another calm day so I took her out again and flew the maiden flight. It was horrifically nerve-wracking but she flew very nicely. Just required some up trim on the elevator and a couple clicks on the ailerons to get her flying straight. Half throttle is about all that's needed to cruise; I guessed the Eflite power 46 motor was probably overkill - but better safe than sorry!
Performed three very nice, clean landings and then called it a day. I didn't have the guts to keep flying for fear of smashing her to smithereens on the first day ;) Only damage was my fancy working tail-strake that I designed (not stock for the plane), but I expected it to be the first thing to break. I'll have to reinforce it.
The plane is a bit heavier than I'd hoped at ~ 5 lbs 4oz. Aerodrome RC claims the flying weight should be 4lbs 10oz. I'm not too far off and have a bigger motor, esc, and battery than is probably necessary, but I also added a bunch of lead weight (6oz) to the nose b/c the CG was a little farther back than I was comfortable with, at least for the first flight. I'll try removing some of that nose weight next time to see if it's really needed.
Ok here are a bunch of pics I've taken over the past month at various stage of the build. I skipped over all the wing covering steps, painting, landing gear design, etc.

This is the nose cone being made. I made a hot-wire cutter in the proper shape using some music wire and mounted it to a wood jig. Then I took a block of styrofoam and rotated it while the hotwire cutter was on to cut out the basic nose cone shape. After this image, I sanded the foam, then fiberglassed it with several coats of fiberglass & epoxy resin.

Painting the engine bay area (Rustoleum grey automotive primer)

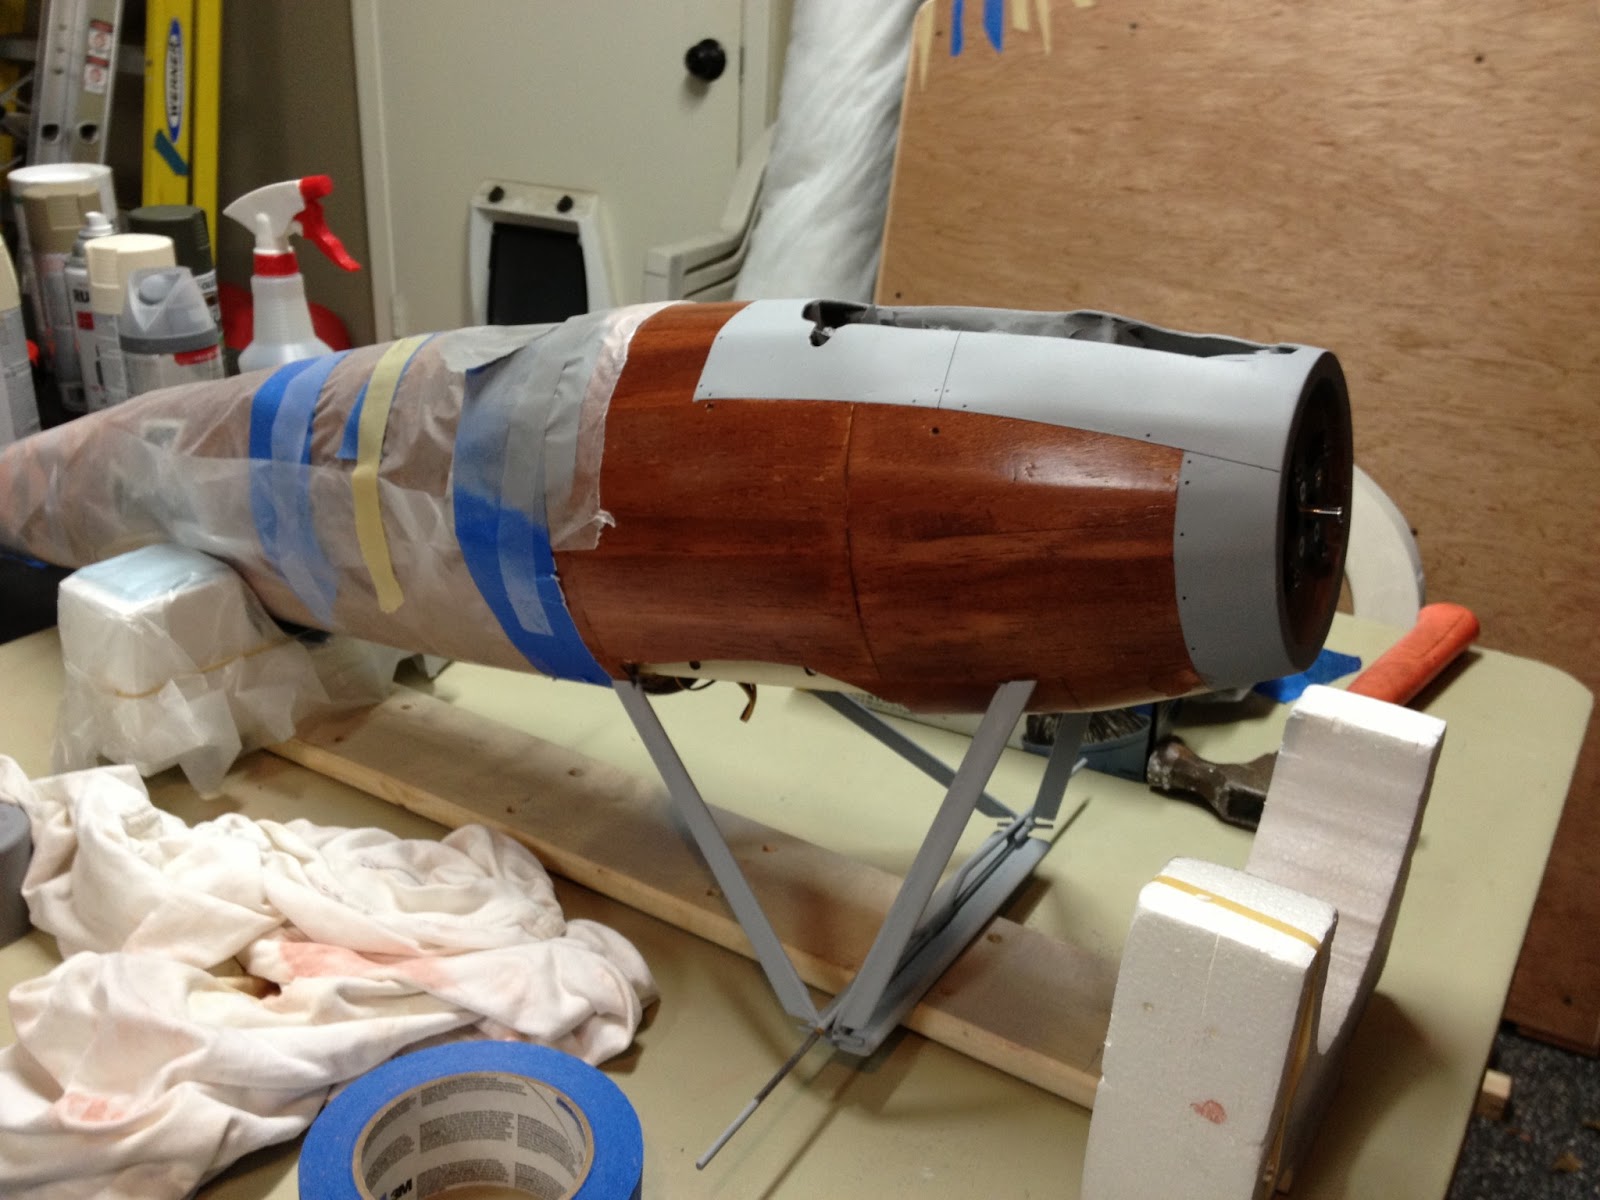
Taped taken off the engine bay after painting

close-up of engine

Plane is finished!

At the field, just prior to the maiden flight

Just after the maiden flight...note the wetness on the wings...it was fairly foggy that morning.
I'll be sure to bring my video camera next time I fly and will post that too.
No comments:
Post a Comment